
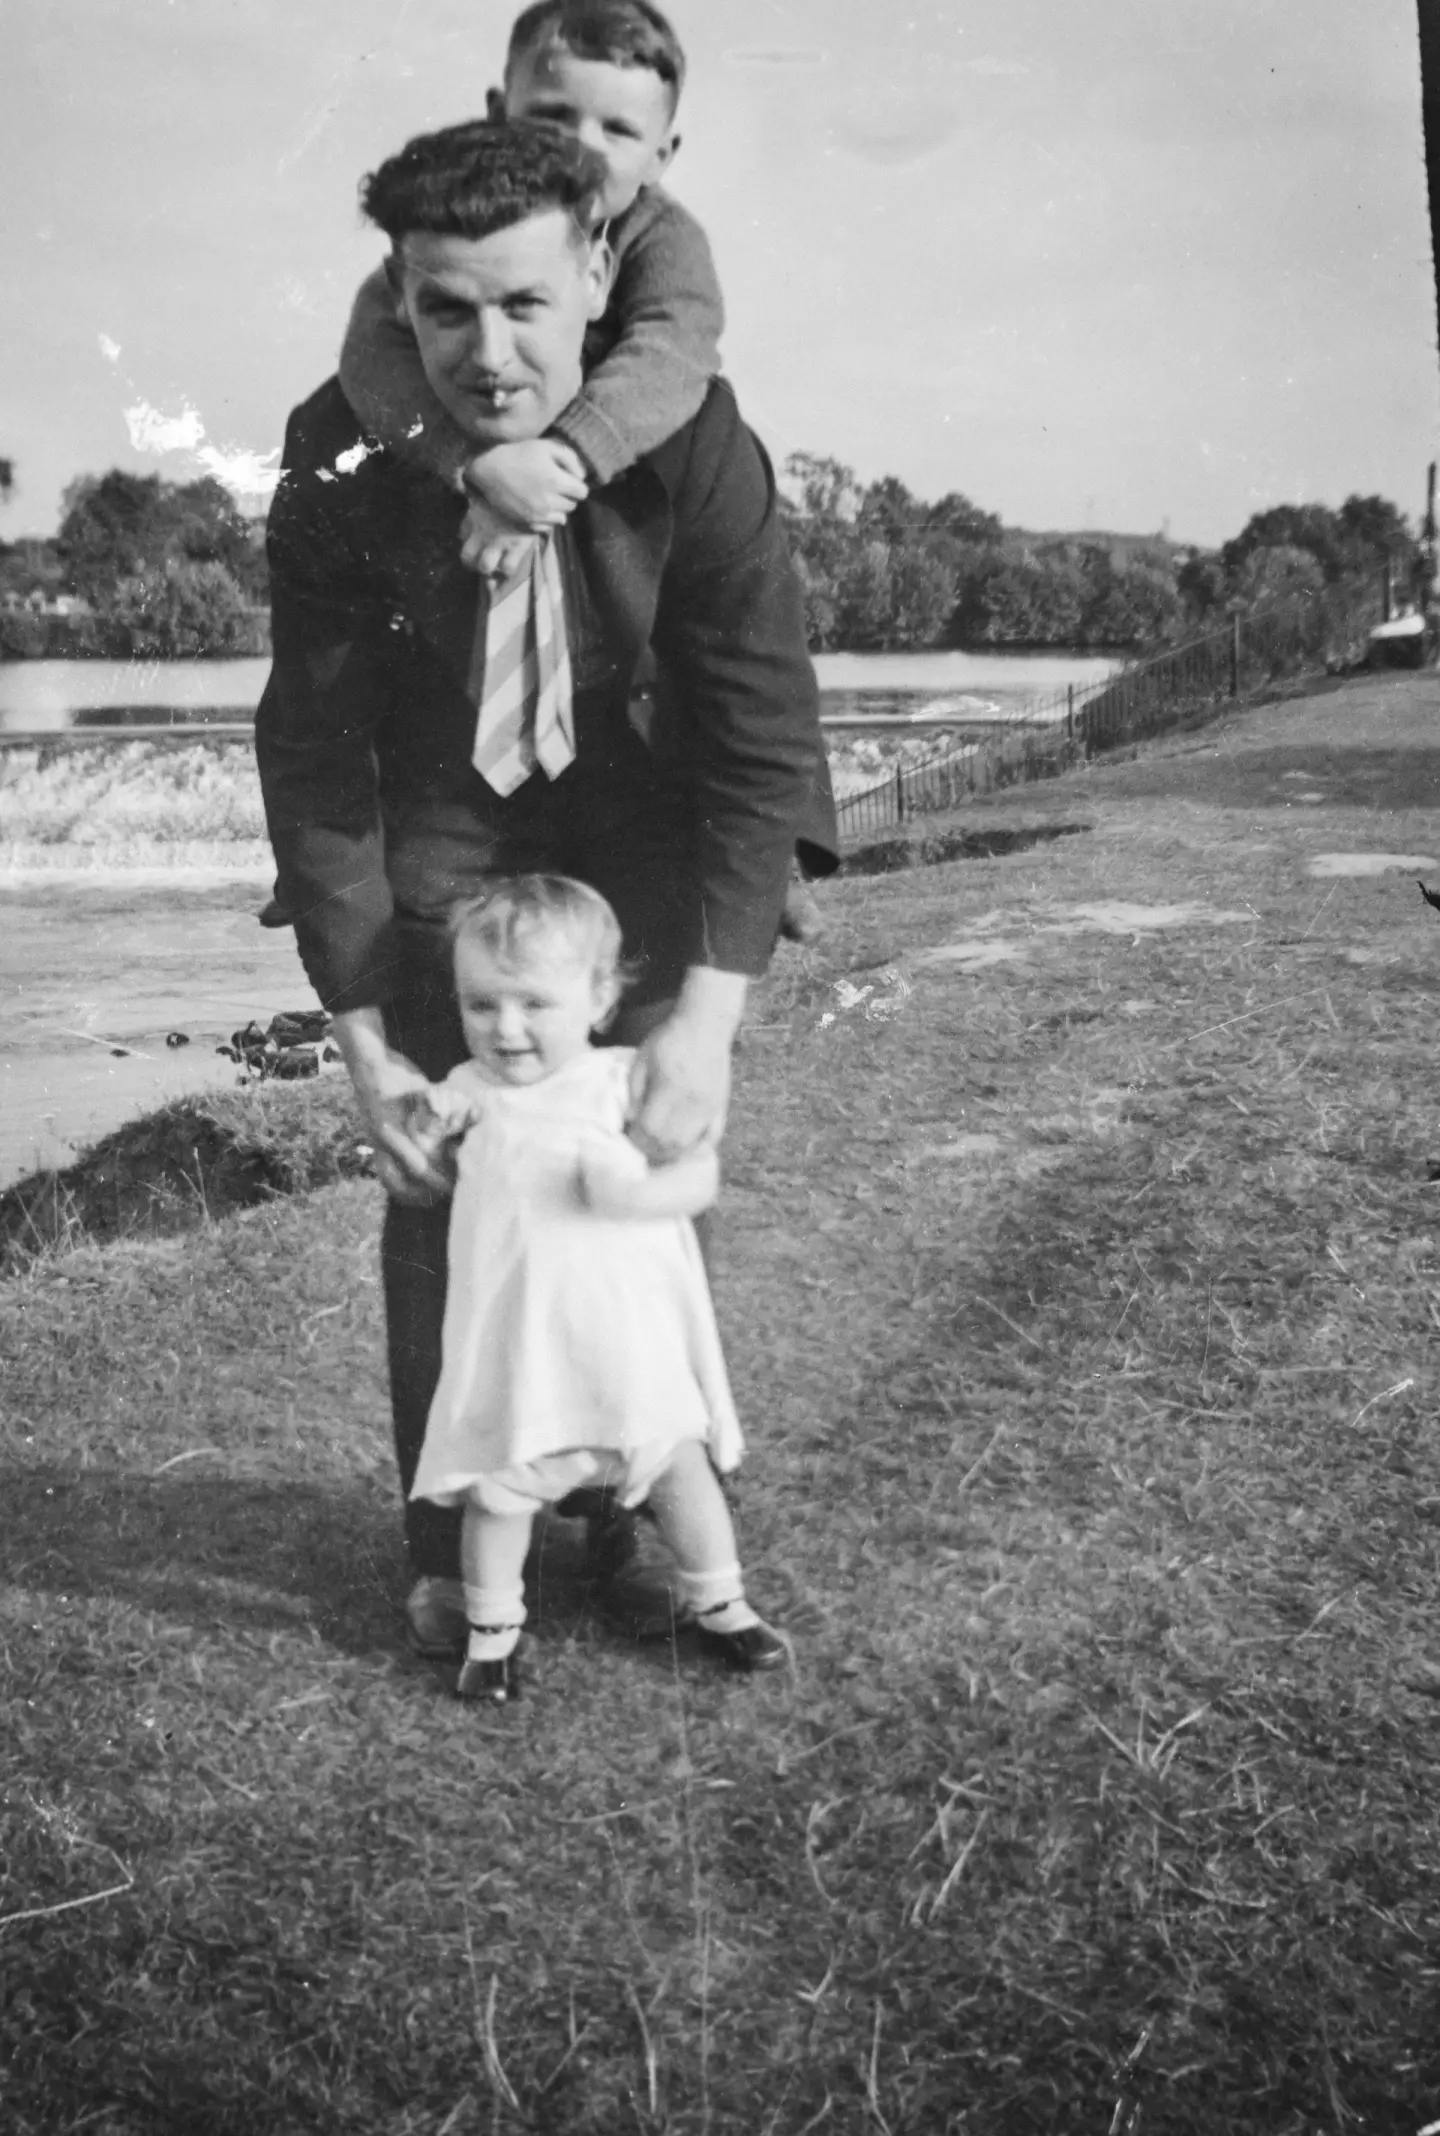
A bad scan wastes a good restoration. Most of the difference between a so-so result and a great one comes down to the file you upload.
If we were restoring a box of old prints at home, this is the workflow we'd run.
1. Get the print ready
If the photo is dusty, brush it off gently with a soft cloth. Don't scrub, don't use water, don't peel photos out of albums if the adhesive is fighting back. The goal is to handle the print less, not more.
Lay it flat under even light. Avoid direct sun. Avoid lamps that cast a hot spot.
2. Scan or shoot it well
A flatbed scanner at 600 DPI is the gold standard. If you don't have one, your phone will do — hold it parallel to the print, fill the frame, tap to focus on a face.
Reshoot if your first capture is blurry. It takes ten seconds. Restoring blur takes the AI a lot more effort, and the result is rarely as good.
Send the highest-quality file you have. If you still have the original scan on a hard drive, use that — not a screenshot from a social post.
3. Upload one photo at a time
One at a time makes it easier to judge each result. It also keeps the work organized — when you come back to the box next week, you can tell which photos are done and which still need a pass.
4. Decide on color
For a black-and-white original, colorization is a choice, not an upgrade. Color can make a memory feel closer, especially for relatives who never met the person in the photo. But it can also flatten the historical feel of a portrait that was always meant to be monochrome.
For family snapshots, we usually colorize. For formal portraits, vintage uniforms, and historical photos, we usually don't.
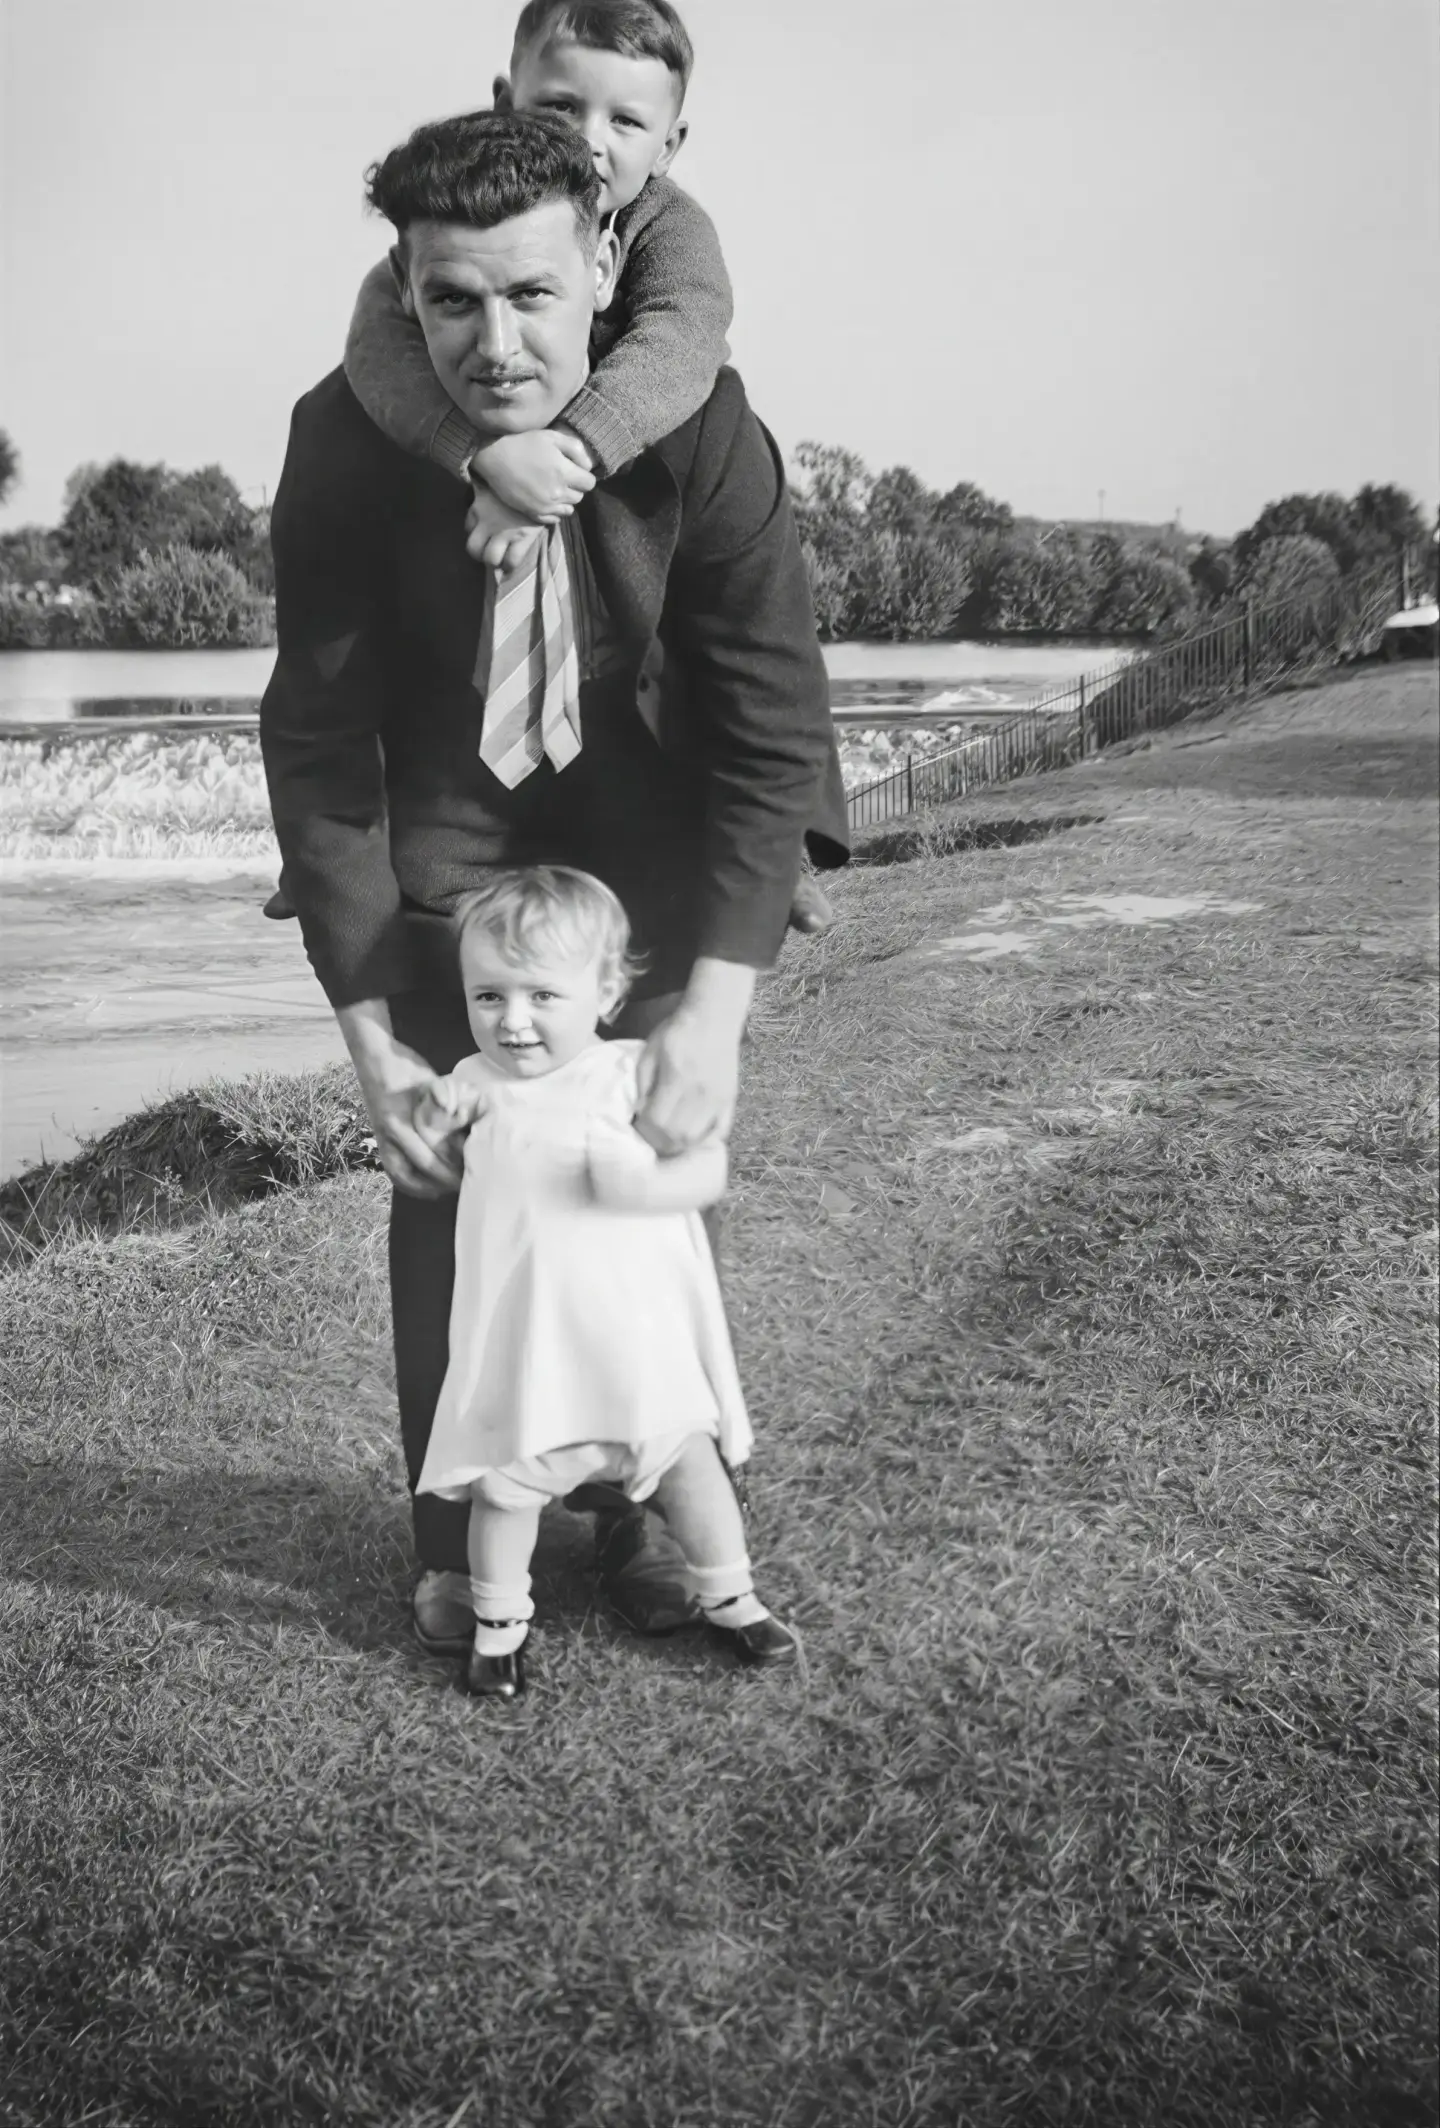
5. Look at the result
Compare the restored photo against the original. Start with the face — does it still look like the same person? After that, check the eyes, the clothing, the hands, the background.
If you want a different version, re-upload the same image with colorization toggled on (or off). That's the only choice the tool exposes — the cleanup, enhancement, and upscaling happen automatically.
6. Keep both files
The original scan is your historical source. The restored version is the copy you share, print, and post. Use filenames that say what each is — grandma_1962_original.jpg, grandma_1962_restored.jpg — so relatives know which is which.
Common mistakes
Uploading a blurry phone capture when a sharper one is possible.
Cropping out borders, captions, or handwritten notes before you know they're not important.
Judging the result only by sharpness. For family photos, identity and naturalness matter more than extreme detail. A softer restoration that still looks like the same person is better than a sharp one that doesn't.
Start with one photo
If you have a whole box, don't try to restore it tonight. Pick the photo that matters most. Run it. See what the tool does. Use what you learn to set up the rest.
Open the restoration toolFor background on what the AI is doing under the hood, see how AI photo restoration works. Not sure a photo is worth restoring? These five signs can tell you.